Step-by-Step Guide to Setting Up Epson XP-2200: From Start to Finish-Setting up a new printer can be a daunting task, especially if you’re unfamiliar with the model. The Epson XP-2200 is a versatile all-in-one printer that offers a range of functions from high quality printing to scanning and copying. In this step-by-step guide, we’ll take you through the entire process of setting up your Epson XP-2200 to ensure a smooth and hassle-free installation.
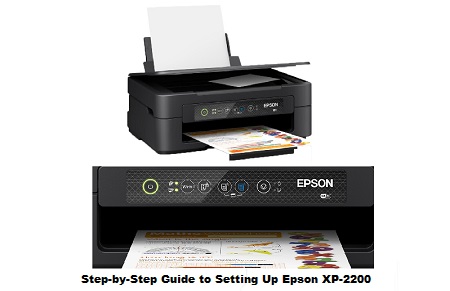
From Start to Finish: A Step-by-Step Guide to Setting Up Epson XP-2200
Step 1: Unpacking
When you first receive your Epson XP-2200, carefully unpack the printer and its accessories. Make sure you have all the necessary components, including the printer, power cord, ink cartridges, user manual and any other items included.
Step 2: Switch on
Place the printer in a convenient, well-ventilated location. Plug the power cord into the printer and a wall outlet. Turn on the printer using the Power button, usually located on the control panel.
Step 3: Epson XP-2200 Install the ink cartridges
Open the printer cover to access the ink cartridge area. The Epson XP-2200 usually uses separate ink cartridges for each colour (cyan, magenta, yellow and black). Follow the colour-coded labels and insert the cartridges into their respective slots. Close the cover securely.
Step 4: Load paper
Adjust the paper guides in the input tray to fit the size of paper you are using. Place a stack of paper in the tray, aligning it with the paper guides. Adjust the guides to fit the paper without overloading the tray.
Step 5: Epson XP-2200 Connect to Wi-Fi
If your Epson XP-2200 supports wireless connectivity, you can connect it to your Wi-Fi network for convenient printing. Navigate to the printer’s control panel and select the Wi-Fi Setup option. Next, Follow the on-screen instructions to connect the printer epson to your network.
Step 6: Epson XP-2200 Install drivers and software
Visit the official Epson website or use the installation CD supplied with the printer to download and install the latest drivers and software for the Epson XP-2200. Follow the on-screen instructions and connect the printer to your computer when prompted.
Step 7: Test print
Once the drivers and software are installed, print a test page to make sure the printer is working properly. Use a sample document or image to check print quality and colour accuracy.
Step 8: Set up scanning and copying
If you want to use the scanning and copying functions of the Epson XP-2200, install the necessary software and configure the settings on your computer. Refer to the user manual for detailed instructions on scanning and copying procedures.
Setting up the Epson XP-2200 is a straightforward process that can be achieved by following these step-by-step instructions. Whether you’re a beginner or an experienced user, this guide will ensure that you can set up your printer quickly and efficiently to take full advantage of its features. If you have any problems, refer to the User Guide or contact Epson Customer Service for further assistance. Now that your Epson XP-2200 is up and running, you can enjoy high quality printing, scanning and copying.


