Epson L120 Refillable Ink Conversion, Instructions on how to convert the Epson L120 into a refillable ink tank printer for cost-effective printing. The Epson L120 is a reliable and cost-effective inkjet printer that has won the hearts of many users for its excellent print quality and efficiency. However, like most conventional inkjet printers, it can be expensive to maintain due to the high cost of replacing ink cartridges.
A practical solution to this problem is to convert the Epson L120 into a refillable ink tank printer. In this article, we will provide you with a comprehensive step-by-step guide on how to perform this conversion, which will allow you to save significantly on your printing costs.
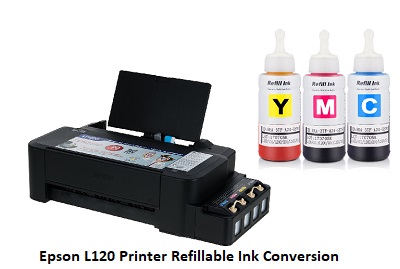
Epson L120 Refillable Ink Conversion: A Step-by-Step Guide for Cost-Effective Printing
Step 1: Gather Your Supplies
Before you begin the conversion process, it’s important to have all the necessary supplies ready. Here’s what you’ll need:
- Epson L120 printer
- Refillable ink tank system kit (compatible with Epson L120)
- A screwdriver
- Detergent or distilled water
- A set of compatible ink bottles (usually included with the ink tank system)
Step 2: Prepare your workspace
Prepare a clean and spacious area for the conversion. It’s a good idea to work on a flat, well-lit surface to prevent accidental spills or damage.
Step 3: Turn off and unplug your Epson L120 Printer
Make sure your Epson L120 is turned off and unplugged from the wall outlet. This is important for your safety and to prevent possible damage to the printer.
Step 4: Remove the existing ink cartridges
Open the printer cover and carefully remove the existing ink cartridges. Place them in a plastic bag or container as you may need them later if you decide to return to the standard cartridge system.
Step 5: Epson L120 Printer Install the refillable ink system
Follow the instructions provided with your refillable ink tank system kit to install it. Typically, this involves attaching the ink tanks to the printer in place of the cartridges. Secure them securely to prevent leaks.
Step 6: Fill the ink tanks
Fill the ink tanks with the compatible ink bottles that came with the kit. Make sure that each tank is filled with the appropriate color of ink. Be careful not to overfill, as this can cause ink to spill.
Step 7: Epson L120 Printer Perform a Test Print
After installing the refillable ink tank system, it’s important to run a test print to verify that the ink is flowing properly and the printer is operating as expected. Follow your printer’s instructions for performing a nozzle check or test print.
Step 8: Prime the ink tanks
Prime the ink tanks by running the printer’s ink priming or charging process. This will ensure a smooth flow of ink from the tanks to the print head.
Step 9: Maintain Your Printer
To keep your Epson L120 printer in excellent working condition, check the ink levels in the tanks regularly and refill them as needed. Clean the print head and ink nozzles as needed to prevent clogging.
Step 10: Enjoy low-cost printing
Now that your Epson L120 has been converted to a refillable ink tank printer, you can enjoy cost-effective printing without the worry of constantly replacing expensive ink cartridges.
Conclusion
Converting your Epson L120 to a refillable ink tank printer is a practical and cost-effective solution to reducing your printing costs. By following the step-by-step instructions provided in this article, you can easily complete the conversion process and enjoy high-quality prints at a fraction of the cost. Keep in mind that proper maintenance is critical to ensure the longevity and performance of your newly converted printer. Say goodbye to expensive ink cartridges and hello to affordable, efficient printing with your Epson L120 Refillable Ink Tank Printer.


